Capturing screenshots has been a habit of mine for as long as I can remember. These snapshots serve as a pool of inspiration and a crucial extension of my second brain, something I’ve relied on for years. I have also wished for a Bricks Builder website showcase that showed full screenshots of pages rather than just a preview image and then a link to the site, as sites change. I like the fact that a screenshot is static. In addition, a long screenshot allows you to see the flow the designer was going for, and you start to see some patterns emerge on the “best” sites. I also wanted to do something that was community-driven.
Come early November, amidst the end-of-year hustle in my other ventures, I needed something to de-stress me. I found the perfect side project: launching the Built With Bricks site. As I started taking screenshots, I very quickly realized that I was going to need to do more than just optimize the images with Short Pixel and serve with a CDN. I would say the average image is around 5mb and the largest so far is around 13mb. Not small images, and when you are trying to show 30 or so on a page, it can get nutty quickly! I knew that I would not be so worried about the speed of the page as it would be nearly impossible to get to a score of 100 on any speed test, but I also didn’t want to overload my server either.
I had long thought of using something like an Amazon S3 storage and thought this might be a fun project and one that I could write about to hopefully help others. I haven’t ever needed to do something with storage that is as involved as this. Most of the time even on an image-heavy site they may be a few hundred kb when optimized.
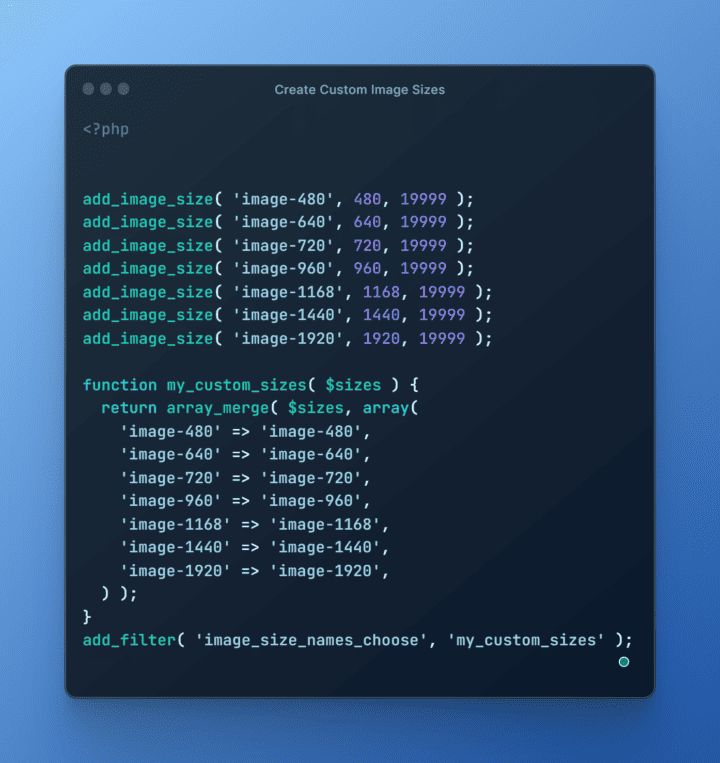
I already use a code snippet in my blueprint that creates custom image sizes for me. After my fourth or fifth screenshot, I realized I was going to have to rethink my approach. See under normal circumstances, an image will rarely need to be larger than 9999 px tall. But in full site screenshot land, they can get kind of crazy long. I try to not pick screens that are insanely long but when you are trying to pick the best pages from a site, sometimes you have to. So I changed the max image height to 19999 which should more than suffice. To date, I think the longest/tallest has been 14k pixels tall. So that problem is taken care of. And my images work again. Here’s the code snippet for custom image sizes if you want to borrow it:

So my first plan of attack on these large images was to resize them with Sqoooush and then upload them to Short Pixel. But for some reason, and I still haven’t fully figured it out, if I resize an image and then upload it, Wordpress or Short Pixel scales it down (if anyone has an idea on it, I’m all ears. Like I’ll upload a 1920px wide image that I have resized from being way wider, and it will automatically scale it to say 700px wide, which doesn’t work when you are trying to show relatively high-quality images. I digress. So that was when I officially decided to break out the big guns. I posted in the inner circle to see if anyone had done it, and was met with Stone. Cold. Silence.
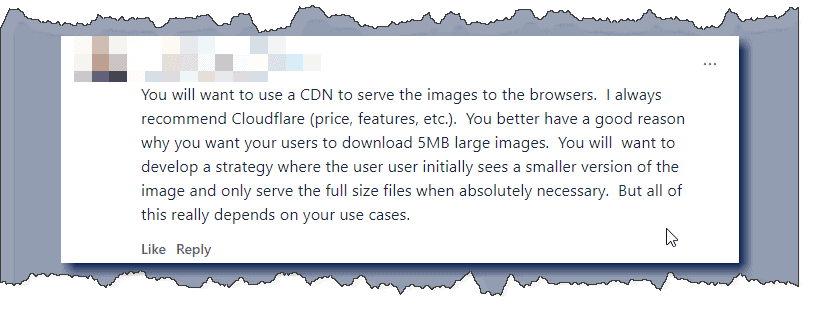
Well, not entirely: my sanity was questioned as to why I would want to upload such large images. Hah.

As I said, I have long wanted to test this setup out, and now was the best possible time. I had a couple of weeks before Thanksgiving to hammer a site out. Luckily, the site design and development were already done (link to blog post), making this one of the last pre-launch items on my list.
How to Setup WP Offload Media, Short Pixel, and Amazon S3 (Plus Amazon Cloudfront)
Let me start by saying the folks at Delicious Brains have the absolute best tutorials for this. Their knowledge base is packed with detailed guides, and I couldn’t improve them if I tried. So I’m just going to share the two main tutorials I followed to add WP Offload Media to the Built with Bricks site.
Step 1: Setup Amazon S3 and Link to WP Offload Media
Amazon calls its virtual containers “buckets”. This is just a container of objects, and you can create numerous buckets (100 per account at last check). This will be where the media you upload to your media library will be moved to, automatically. The link below will handle setting up both the plugin, as well as your Amazon account. The best part? Shortpixel just works out of the box, you don’t have to do a thing to make it work, even when you add the CDN in step 2! Follow this tutorial.
Step 2: Setup Amazon Cloudfront with Custom URL
Here is the tutorial for setting up a custom CDN with Amazon Cloudfront. You can use other CDNs, but for this project I wanted to test out Cloudfront so we went with Cloudfront. I still use Cloudflare for DNS, but this allows us to also serve private files seamlessly (if we ever create a private content area). Follow the tutorial.
Possible Website Use Cases for WP Offload Media and Amazon S3:
This setup, while not a one-size-fits-all solution, is especially beneficial for websites in industries where heavy media usage is the norm. From showcasing intricate details in a photographer’s portfolio to presenting vivid, enticing images in the travel and tourism sector, the right image can make all the difference. Below are just a few of the industries that may benefit from this setup.
- Photography
- Service business with heavy images (contractors)
- Realtors
- Travel/Tourism
- Automotive Industry
- Architects and Interior Designers
- Graphic Designers
- E-Commerce/Retail
- Food/Culinary
Conclusion
After following along with this tutorial, hopefully, you can now successfully serve your media from your own CDN URL with private content hosted on Amazon S3. I can honestly say that I will most likely be implementing this on all of my sites going forward. It just works, things get updated automatically, and it just gives me one more level of backup protection. Feel free to drop me a line for any questions you may have.

